 Blaine Siding
 Homes near Peace Arch sit about as close to the water and the border as any neighborhood in Blaine gets, and that location asks more of exterior siding than most inland Whatcom County streets ever see. Salt-laden marine air moves through constantly, wind-driven rain hits walls sideways instead of straight down, and a long damp stretch each year gives moss and mildew months to work into seams, fastener heads, and butt joints. When siding fails here, it's rarely one cause — it's usually salt, water, and biological growth working on the same wall at the same time. This page covers what a correct siding repair looks like specifically for Peace Arch homes, not siding repair in general.
Why Siding Repair Near Peace Arch Is a Different Job
A repair crew that mostly works drier, more sheltered parts of the county will diagnose Peace Arch damage differently than one that sees this exposure every week. Fasteners corrode faster this close to salt air, caulk and sealant joints break down sooner, and paint or factory finishes take more UV and moisture cycling than they would a few miles inland. Wind direction matters too — walls facing the open water take rain at an angle that pushes water up under laps and around trim, which is a different failure pattern than the straight-down rain most siding details are built to shed. A repair that only addresses what's visible from the ground, without accounting for that exposure, tends to fail again within a season or two.
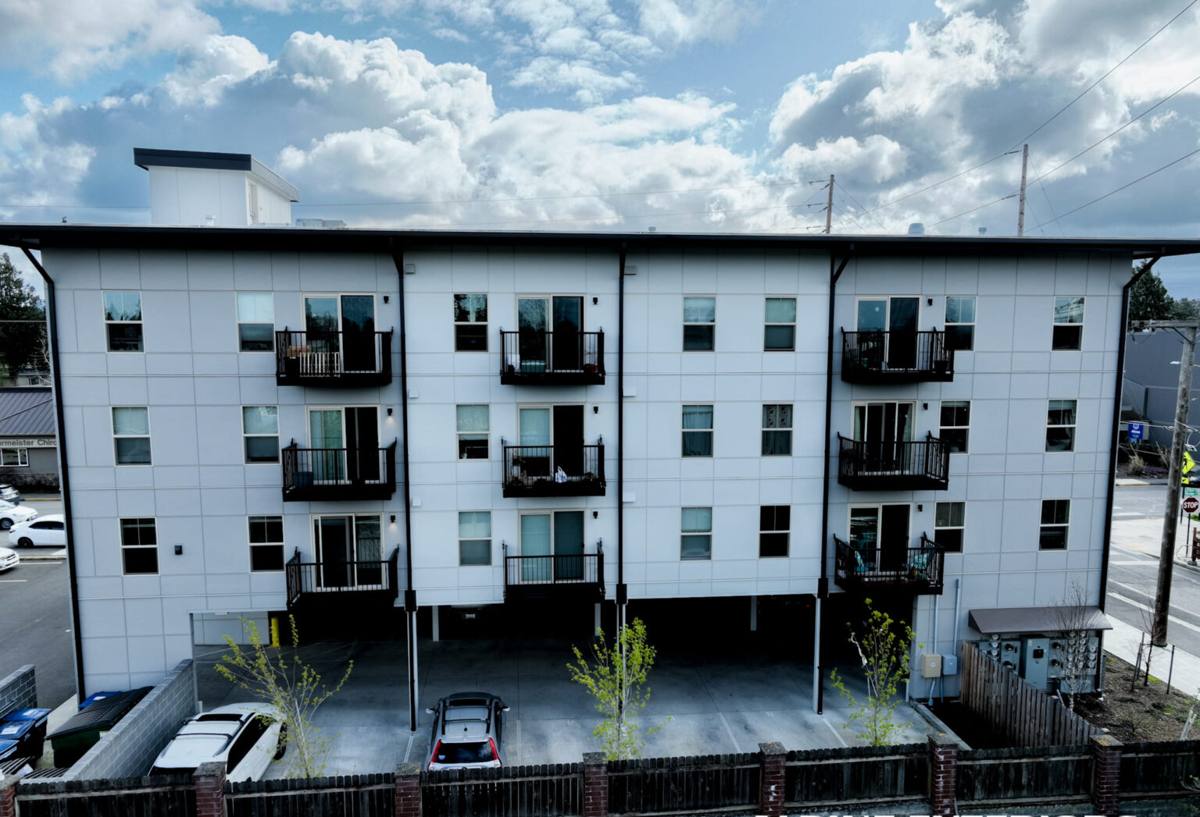
What Blaine's Climate Actually Does to Siding
Three things drive most of the repair calls we see in this part of Blaine:
- Salt air corrosion — fasteners, flashing, and metal trim lose their protective coatings faster near the water, which loosens boards and opens gaps for moisture even before the siding itself looks damaged.
- Wind-driven rain — storms coming off the water push moisture into laps, corners, and butt joints that would stay dry in a straight-down rain, which is why damage often shows up first at seams rather than in the middle of a panel.
- A long, damp moss season — the wet stretch from fall through spring gives moss, algae, and mildew time to establish on shaded and north-facing walls, holding moisture against the siding surface long after a storm has passed.
None of these are dramatic on their own. The problem is that they compound — a loosened fastener lets in a little water, moss holds that moisture against the wall, and salt air accelerates the corrosion that started the whole cycle. A repair plan that only treats the symptom you can see usually misses the mechanism underneath.
Signs Your Siding Needs Repair — Not Full Replacement
Most Peace Arch homes don't need a full re-side; they need a handful of problem areas addressed correctly before they spread. Look for:
- Soft or spongy spots when you press on the siding, especially near the bottom courses or below windows
- Dark staining or streaking at horizontal seams and butt joints
- Boards that have buckled, bowed, or pulled away slightly from the wall
- Rusted, popped, or missing fasteners
- Cracked or missing caulk at trim, corners, and window and door casings
- Persistent moss or algae buildup on shaded walls, especially the north and northeast sides
- Paint or finish failing in isolated patches rather than across the whole wall
- Visible gaps opening up at butt joints where boards meet end to end
If you're seeing one or two of these in a limited area, repair is usually the right call. If the damage is spread across multiple walls or you're finding soft sheathing behind more than one section, that's a different conversation — and an honest contractor should tell you that plainly instead of stretching a patch job past what it can reasonably fix.
What a Correct Repair Involves
A repair that holds up in this climate has to go beyond swapping a damaged board. It should include:
- Removing the damaged section fully and inspecting the sheathing and weather-resistant barrier behind it for moisture damage before closing anything up
- Correcting the cause of the failure — a missing kick-out flashing, an under-lapped joint, a fastener pattern that doesn't match manufacturer spec — not just replacing the board and leaving the same detail in place
- Reinstalling with the correct fastener type and spacing for the exposure, since salt air means standard fasteners corrode faster than they should
- Matching the replacement material and finish as closely as possible so the repair doesn't stand out or age at a different rate than the surrounding siding
- Sealing joints and penetrations to manufacturer specification, not just running a bead of caulk over the gap
Skipping any of these steps is how a "fixed" wall ends up back on a repair list within a year or two — the visible damage is gone, but the mechanism that caused it is still there.
Repair vs. Replacement: How We Decide
We don't default to recommending a full re-side just because a home is old, and we don't stretch a patch job past what it can honestly deliver either. Here's the general framework we use:
| Factor | Repair usually makes sense | Full replacement usually makes sense |
|---|---|---|
| Extent of damage | Isolated to one or two walls or sections | Spread across most or all of the exterior |
| Sheathing condition | Dry and sound behind the damaged boards | Soft, stained, or rotted sheathing in multiple areas |
| Age and material of existing siding | Sound material with years of service life left | Original material at or past its expected lifespan |
| Pattern of failure | Traceable to a specific detail (flashing, caulk, fasteners) | No single cause — failure is systemic across the wall assembly |
| Cost over time | Repair cost is a fraction of full replacement | Repeated repairs are approaching the cost of replacing |
Our Process for Peace Arch Siding Repair Calls
- On-site inspection. We walk the exposure-facing walls first, check moisture levels behind suspect boards, and look at fastener and flashing condition, not just the visible surface damage.
- Written diagnosis. You get a plain explanation of what's failing and why — not just a list of boards to replace.
- Material matching. We determine what's needed to make the repair blend in and perform the same as the surrounding siding, including finish and color match where possible.
- Scheduling around weather. Repairs that involve open sheathing get scheduled around the forecast, not squeezed in ahead of a storm system.
- The repair itself. Correct fastener pattern, correct flashing detail, correct sealant — done to hold up to the next few years of the same exposure that caused the original damage.
- Final check. We confirm the repair is sealed and sound before we consider the job done, not just cosmetically finished.
Why We Repair With James Hardie Fiber Cement
We install and repair with James Hardie fiber cement exclusively — we don't install vinyl, LP SmartSide, or other engineered wood siding products, and that shapes how we approach repair work too. Fiber cement doesn't swell, delaminate, or wick moisture the way wood-based products can, which matters a lot in an area with this much sustained dampness. Hardie's factory-applied ColorPlus finish also holds color and resists the salt-air fading that flat-applied paint struggles with over time, so a properly matched repair patch tends to stay consistent with the rest of the wall for years rather than weathering at a visibly different rate within a season.
If your home currently has vinyl, LP SmartSide, cedar, or another product we don't install, we'll still give you an honest assessment of what a structural or moisture repair needs — but we won't patch a failing wall with new vinyl or engineered wood just to match what's already there. In cases like that, we'll tell you plainly whether a targeted repair using compatible materials makes sense, or whether the affected section is a candidate for conversion to Hardie so it stops being a recurring problem area. That's a conversation, not a sales pitch — plenty of repairs don't need a product change at all.
Why a Crew That Already Works Peace Arch Matters
Exposure this close to the water isn't uniform across Blaine — a wall that takes direct wind-driven rain performs differently than one tucked behind a neighboring structure, and a crew that's already worked this specific stretch has seen those patterns before. That matters for diagnosis speed, for knowing which fastener and flashing upgrades are worth doing proactively while a wall is already open, and for realistic scheduling around the wetter months when repair windows are tighter. It also matters for follow-up — a local crew is the one you can actually call back if a repair needs a second look after the next storm season, rather than chasing down someone who did one job and moved on.
After the Repair: Living With a Long Moss Season
A good repair buys you time, but the same climate conditions that caused the original damage are still there year-round. A few habits go a long way toward protecting the work:
- Keep gutters and downspouts clear so overflow doesn't run down the siding face during heavy rain
- Avoid pointing a pressure washer directly at siding seams and joints — it can drive water past sealed joints even on sound siding
- Trim back vegetation and branches that shade walls and slow drying, since those are the areas moss establishes fastest
- Have moss and algae growth addressed with an appropriate treatment rather than left to spread, especially on north-facing walls
- After major windstorms, do a quick visual check for loosened boards or trim rather than waiting for the next scheduled look
None of this is complicated, but skipping it is how a well-executed repair ends up needing attention again sooner than it should.
If you're seeing damage, staining, or persistent moss on your siding near Peace Arch, we're happy to take a look and give you a straight answer — whether that's a targeted repair, a larger conversation, or just confirmation that what you're seeing is cosmetic and not urgent. Reach out for a free, no-pressure estimate using the form below.