 Blaine Siding
 Building New in Nooksack? Start the Window Plan Before Framing Is Done
If you're building new near Nooksack, the window package decisions you make during framing and rough-in will follow that house for the next 20-30 years. New-construction windows aren't a swap-in-swap-out job like a remodel — they get integrated directly into the wall assembly, the water-resistive barrier (WRB), and the flashing plan before siding ever goes on. Get that sequence wrong and you won't see the problem for a year or two, by which point it's hidden behind finished walls.
We work new-construction and major remodel window installs throughout the Blaine area, including Nooksack, and we've learned that the biggest mistakes on new builds here aren't about the windows themselves — they're about how the windows meet the wall. Whatcom County's climate is unforgiving of shortcuts in that transition.
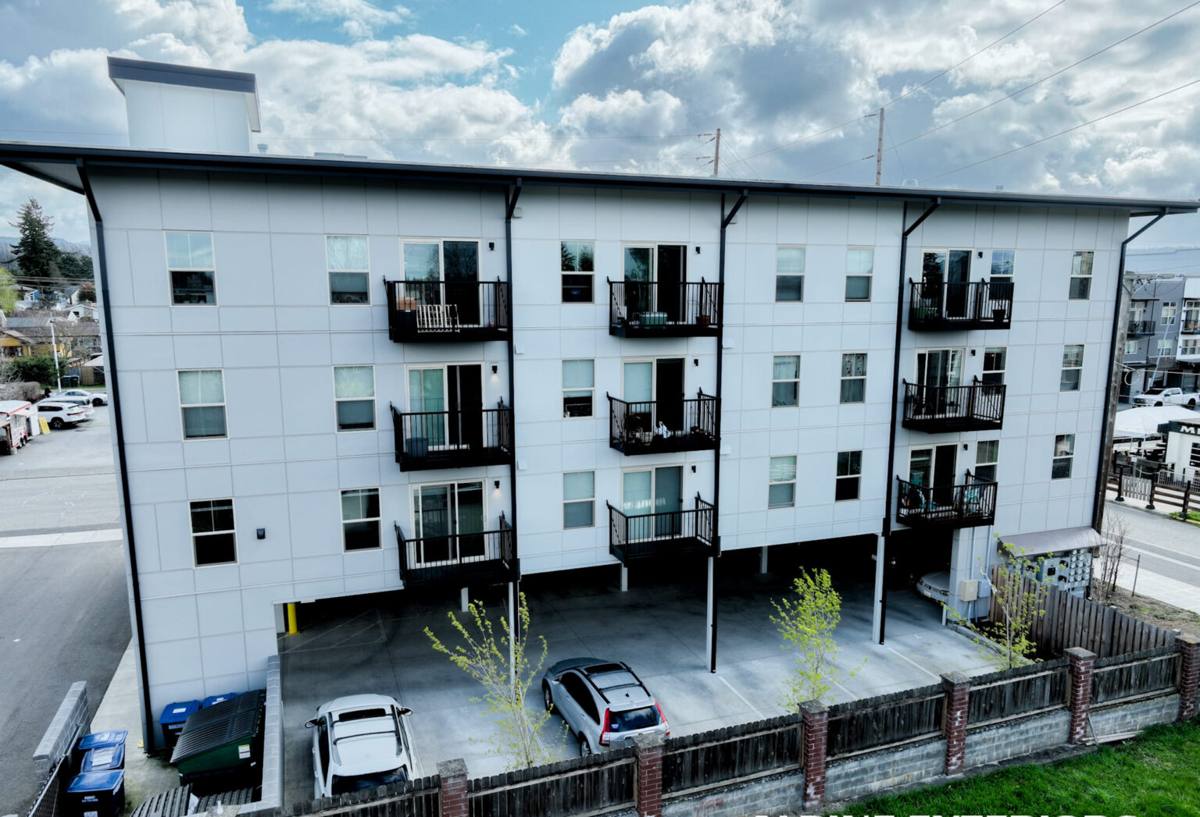
What "New-Construction" Actually Means (and Why It's a Different Job Than Replacement)
New-construction windows have a nailing flange — a flat flange around the perimeter of the frame that gets fastened directly to the sheathing, then integrated into the WRB and flashing before the exterior finish goes on. This is different from a pocket or insert replacement window, which drops into an existing frame with no access to the sheathing or house wrap.
- New-construction (flanged): installed before or during the siding/window wrap stage, flashed shingle-style into the WRB
- Insert/replacement: installed into an existing opening, relies on the old frame and existing flashing
- Block-frame or retrofit flange: a middle option sometimes used on renovations, not true new-construction
Because the flange gets buried under siding, trim, and house wrap, mistakes made here are the hardest and most expensive kind to fix later — which is exactly why the sequencing and flashing details matter more on new construction than on almost any other exterior job.
The Nooksack Factor: Salt Air, Driving Rain, and a Long Moss Season
Nooksack sits inland from Blaine but still shares the broader Whatcom County weather pattern: wet falls and winters, wind-driven rain off the water, and long stretches of damp, low-sun conditions that keep everything — roofs, siding, north-facing trim — perpetually moist. That combination has a few specific effects on new-construction windows:
- Salt-laden air accelerates corrosion on lower-grade fasteners, hinges, and cladding metals over time, especially on window walls facing open exposure
- Driving rain tests flashing details that a drier climate would never expose — water finds gaps under wind pressure, not just gravity
- Extended moss and algae season means anything that stays damp — sills, bottom flanges, trim returns — needs drainage paths that actually work, not just sealant relying on its own integrity
None of this means you need exotic materials. It means the installation details — sill pans, weep paths, flashing laps, and sealant choice — have to be done correctly and in the right order, every time, with no shortcuts because "it probably won't leak."
What a Correct New-Construction Window Install Involves
Before the Window Goes In
The opening gets checked for square and level, the WRB is already lapped correctly below the opening, and a sloped sill pan flashing is installed at the rough sill — this is the single most important, most commonly skipped detail on new builds. A sill pan gives any water that gets past the window a way out, instead of a way to sit and soak into the sheathing.
Setting the Window
The window is set, shimmed level and plumb, and fastened through the flange per the manufacturer's schedule — not just "a few screws in the corners." Manufacturers specify fastener spacing for a reason: it affects both structural performance and warranty validity.
Flashing the Flange
Flashing tape or self-adhered membrane goes over the side flanges first, then the head flange last, shingle-style, so water draining down the wall is always directed over the next layer below it — never into a seam. This is where driving rain either gets shed or gets in.
Sealant and Backer Rod
Interior and exterior sealant joints use the right backer rod and a sealant rated for the substrate and movement expected — not just whatever caulk is on hand. Over-sealing without a drainage path can trap moisture as easily as under-sealing lets it in.
Material and Glass Choices That Hold Up in This Climate
| Option | Strengths Locally | Trade-Offs |
|---|---|---|
| Vinyl (quality-grade) | No paint upkeep, good value, handles moisture well if welded corners are solid | Lower-end vinyl can warp or discolor under UV/salt exposure over decades |
| Fiberglass | Very stable dimensionally, holds paint well, strong warranty structures | Higher upfront cost than vinyl |
| Wood-clad | Traditional look, good performance when detailed correctly | Highest maintenance burden in a wet climate if cladding is ever breached |
| Aluminum-clad | Slim sightlines, durable exterior face | Thermal bridging unless thermally broken; less common on residential new builds here |
On glass, we default to a low-E, dual-pane package suited to the Pacific Northwest — good solar heat gain balance for our overcast winters without overheating in the brief summer stretch. Argon fill is standard on most quality lines and worth keeping. Triple-pane is available for owners who want it, but for most Nooksack-area homes it's a comfort and noise upgrade more than a moisture or durability necessity — we'll walk through the trade-off honestly rather than upsell it by default.
Our Process, Start to Finish
- Plan review: we look at window schedules and rough openings before framing is finalized, catching sizing or header issues early
- Coordination with your builder or framer: we confirm WRB sequencing and sheathing condition before install day
- Sill pan and opening prep: sloped sill flashing installed at every opening, no exceptions
- Window set and fasten: per manufacturer spec, checked for square, level, and reveal
- Flashing integration: shingle-lapped flashing tied into the WRB on all four sides
- Sealant and interior finish prep: exterior sealed, interior left ready for trim
- Final walkthrough: we check operation, hardware, and seals on every unit before we call it done
Cost Factors on New-Construction Window Packages
| Factor | Why It Moves the Price |
|---|---|
| Number and size of openings | More units and larger glass area both add material and labor |
| Material (vinyl vs. fiberglass vs. wood-clad) | Frame material is usually the single biggest line-item swing |
| Glass package | Dual-pane low-E is standard; triple-pane, tinted, or impact-rated glass adds cost |
| Special shapes or sizes | Custom or oversized units (large picture windows, corner units) cost more than stock sizes |
| Site access and timing | Coordinating around other trades on an active build site affects scheduling and labor efficiency |
We won't quote a whole-house window package over the phone without seeing the plans — sizes, quantities, and glass specs all move the number too much for a ballpark to be honest. What we can tell you upfront: budget-grade windows installed with excellent technique will usually outperform premium windows installed carelessly. The installation is at least as important as the unit itself.
Why a Crew That Already Works Nooksack Matters
New-construction window work touches permitting, inspection timing, and coordination with other trades — framers, siding crews, sometimes electricians running wire near rough openings. A crew that already does this work around Blaine and Whatcom County knows the local inspection expectations, has a working relationship with area builders, and has already seen how this specific climate treats window installs that were rushed. That familiarity shows up in fewer callbacks and fewer surprises mid-build, not in anything flashy.
It also means we're not guessing at how exposed your lot is to wind-driven rain or how much shade and moisture a north-facing wall will hold through the moss season — we've built and repaired enough of both in this area to plan for it up front instead of reacting to it later.
Checklist: What to Confirm Before Your Windows Go In
- Rough openings are checked square and level against the actual window schedule, not just the plans
- A sloped sill pan is specified at every opening — ask directly if it's not mentioned
- Flashing sequence is shingle-lapped with the WRB, not just taped after the fact
- Fastening follows the manufacturer's schedule (spacing and screw type), which protects your warranty
- Glass package matches your actual sun exposure and comfort goals, not a generic default
- Someone does a final operational check — every sash opens, locks, and seals — before drywall closes it in
If you're framing a new home or addition near Nooksack and want the window package planned right from the start, we're happy to look at your plans and give you a straight answer on what it'll take — no pressure, no obligation. Reach out for a free estimate using the form below.